Study case - The Folding screen
And building my own.

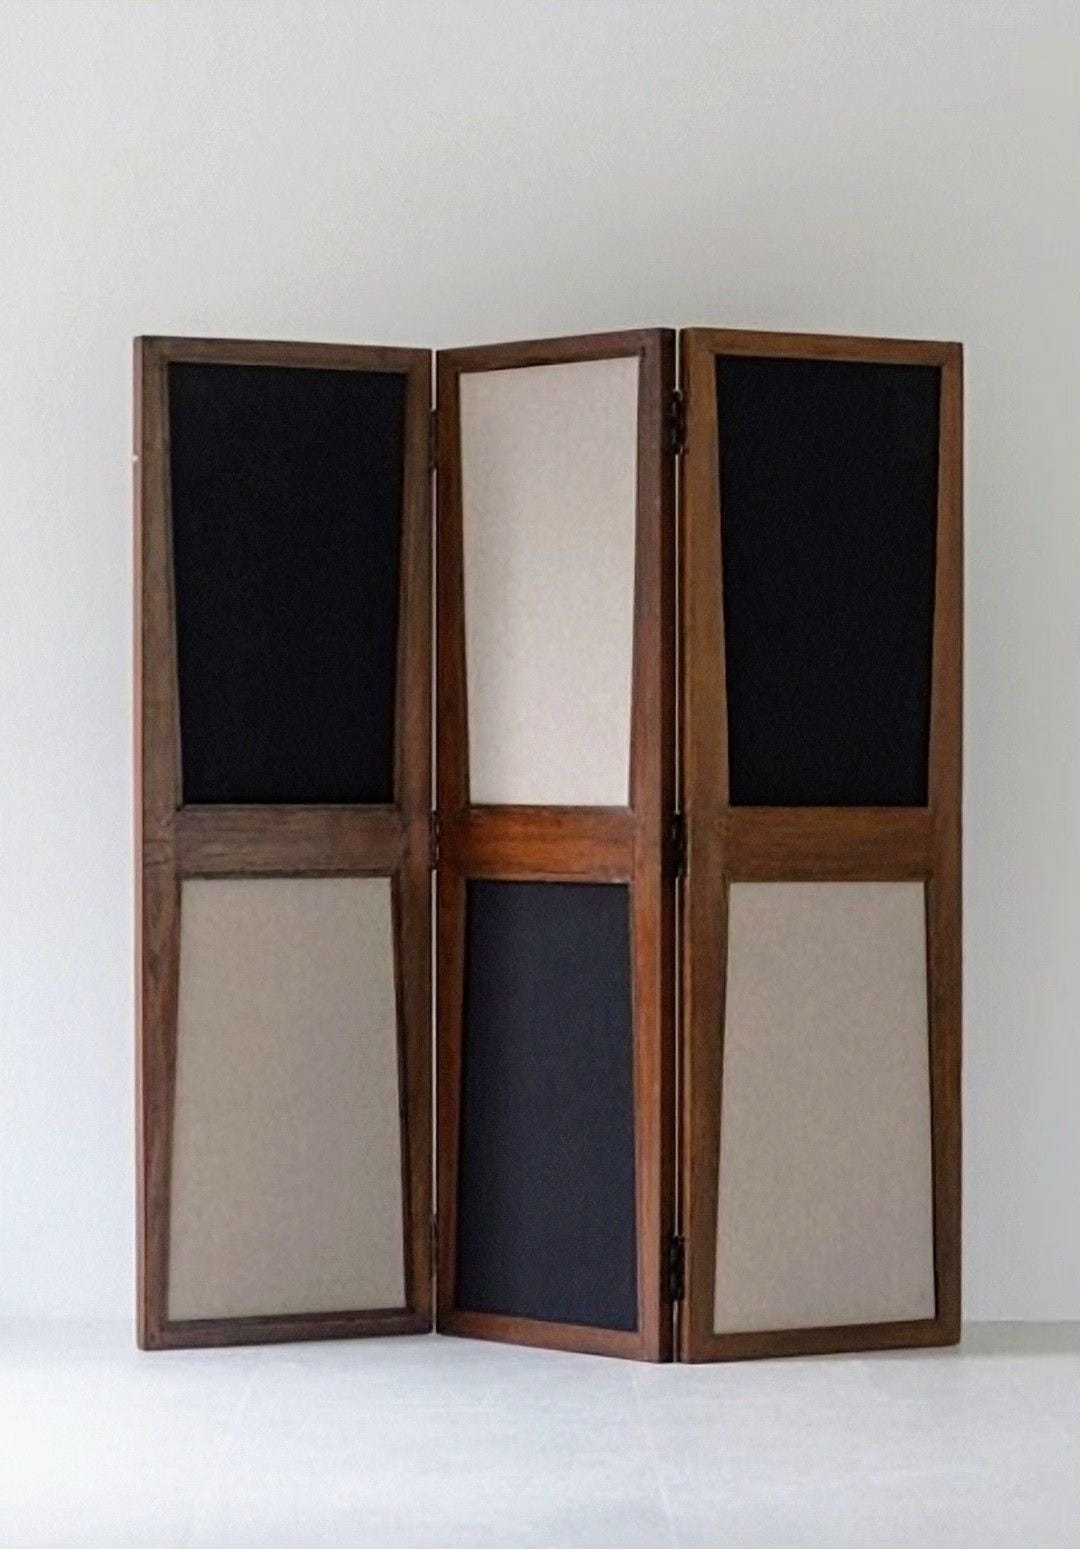
I always loved biombos, and the word itself - biombo - flowing on your lips. Calling it a folding screen doesn’t feel as exciting, but here we are today, dissecting one of my favourite pieces in a room, which I always picture being owned by mysterious and romantic women, changing behind it and throwing clothes at it, while keeping one side of their world just for themselves - both literally and metaphorically.
I went down a long rabbit hole on both the story of this object and what is available out there, and ended up deciding to build my own.
BRIEF HISTORY ON THE OBJECT.
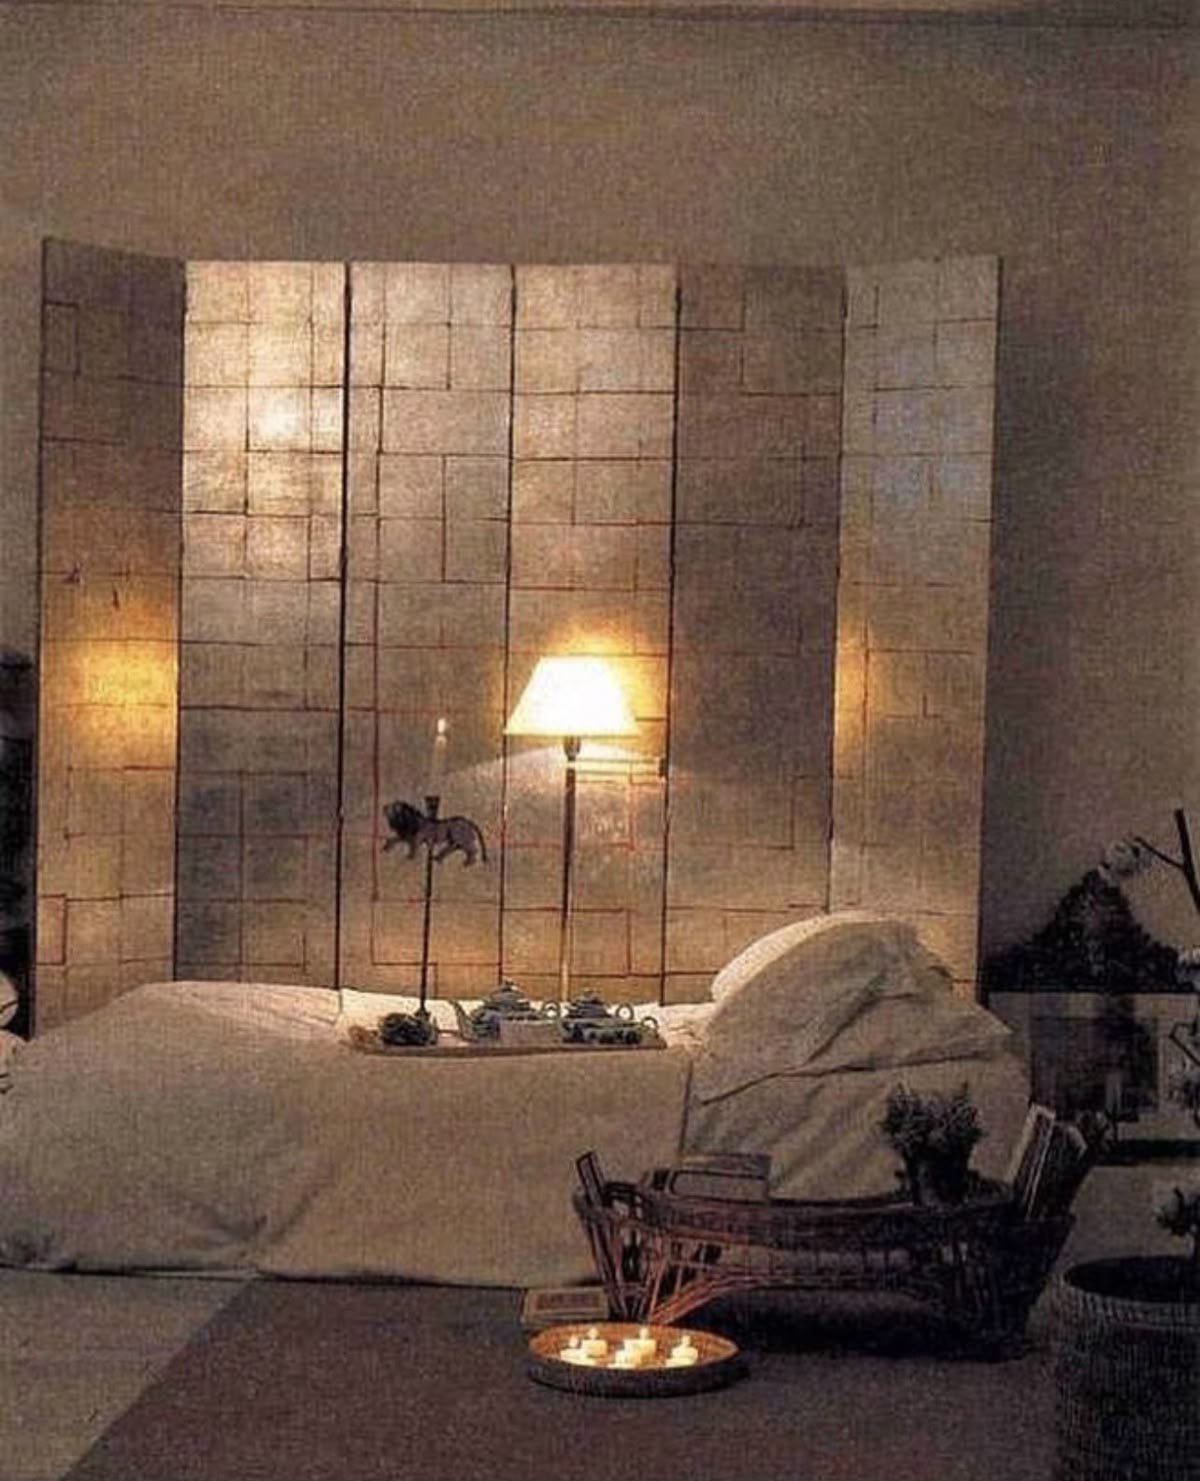
The folding screen first appeared in China during the Han Dynasty (206 BC–220 AD). At the time, it was mainly used in homes and palaces to divide rooms, create privacy, and keep out cold draughts. These early screens were usually made of wood and lacquer and were often beautifully decorated with paintings, silk, or carved details, which also made them a symbol of wealth and good taste.
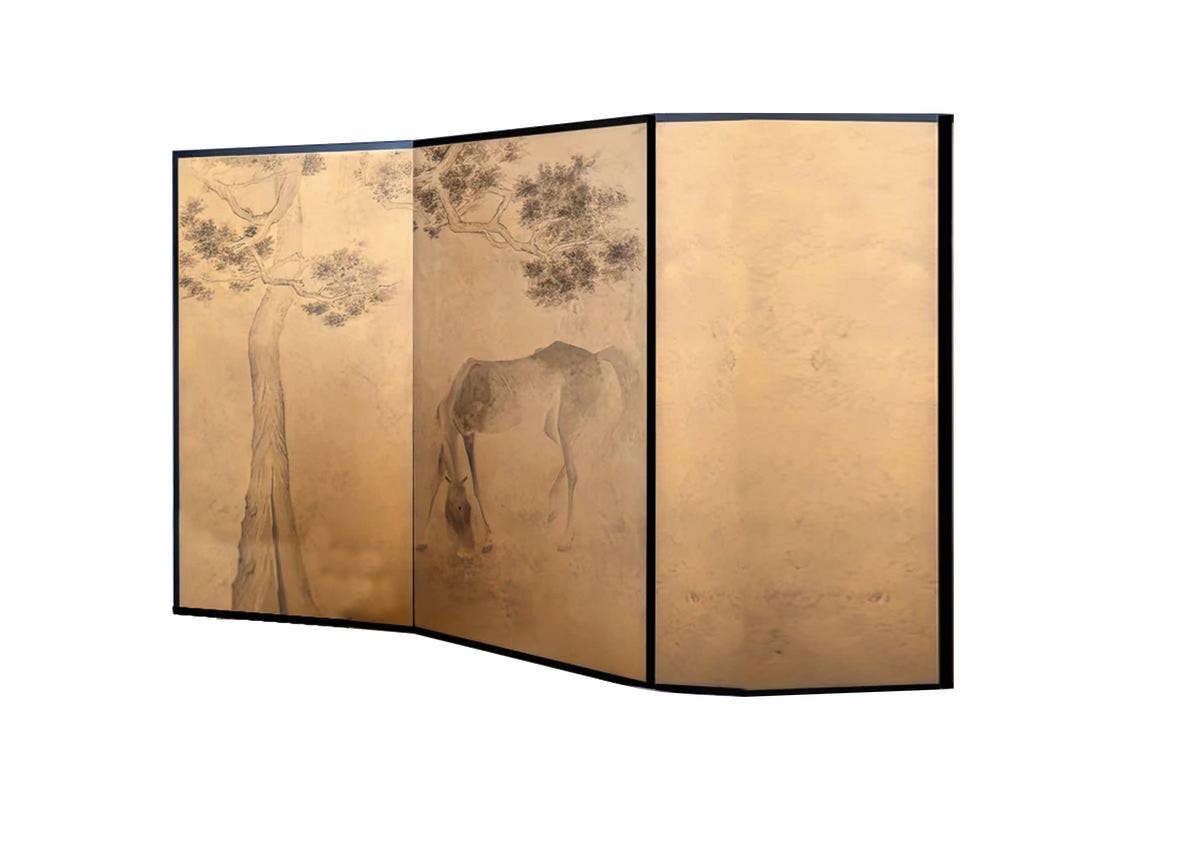
By the 7th century, folding screens had made their way to Japan, where they became known as byōbu, meaning “protection from the wind”. Japanese screens were lighter and more delicate, often made with paper and gold leaf. They commonly showed natural scenes such as landscapes, flowers, birds, and moments from everyday or court life. Over time, they became an important part of Japanese art and interior design.
In the 16th century, folding screens reached Europe through trade routes like the Silk Road and maritime commerce. They quickly became fashionable among the upper classes, especially in France and England, and inspired decorative trends such as chinoiserie.
FDuring the colonial period in Mexico (New Spain), folding screens arrived via the Manila Galleon trade. Local artists adapted them to their own culture, mixing Asian and European styles and using them to tell stories about history and daily life.
Today, folding screens are still widely used, not only as practical room dividers but also as decorative pieces that add character and warmth to a space.
BUILDING MY OWN
I am still very new to this world, and it took me a couple of sketches and visits to the hardware shop to get a clear idea of the piece. I ended up choosing pine plywood because it had such a beautiful grain to it: four boards measuring 50 × 180 cm.
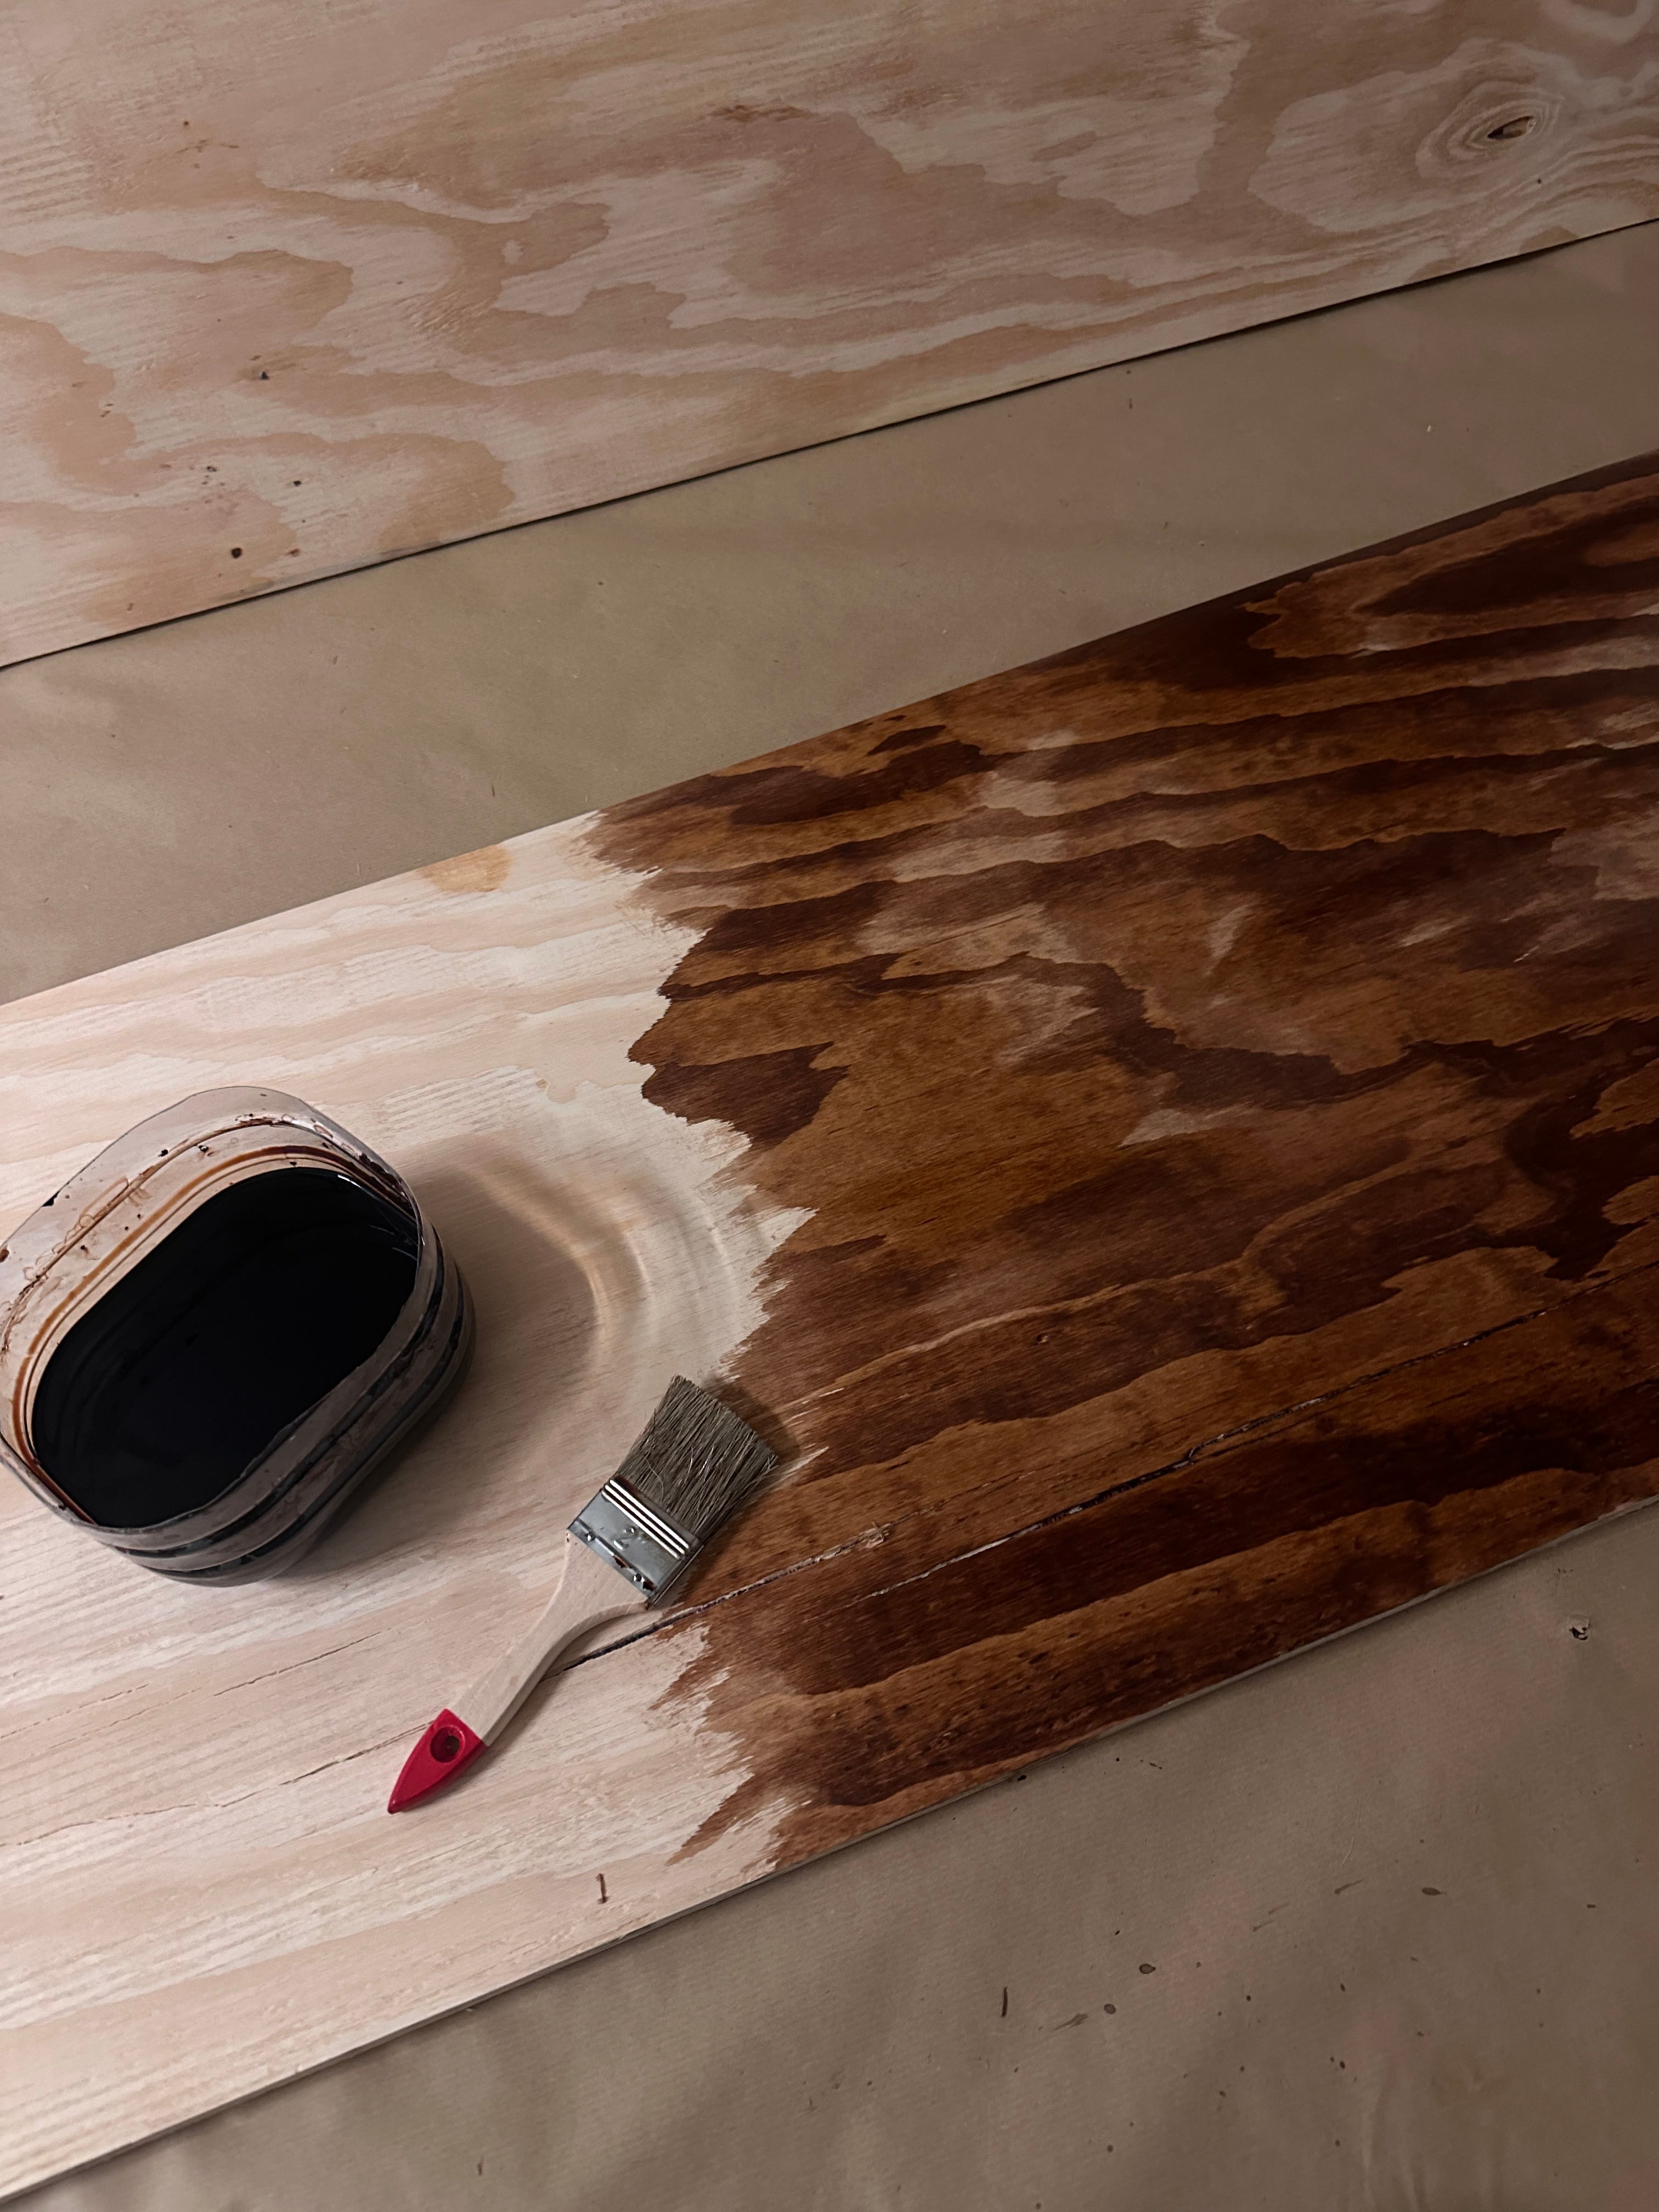
I sanded the boards and applied a few coats of walnut stain. I loved the tone while it was still wet (as in the picture above), but once it had fully dried and I had added a layer of clear wood wax, it turned a bit duller than I would have liked. I would probably recommend another type of wood if you are recreating this, although the measurements worked really well.
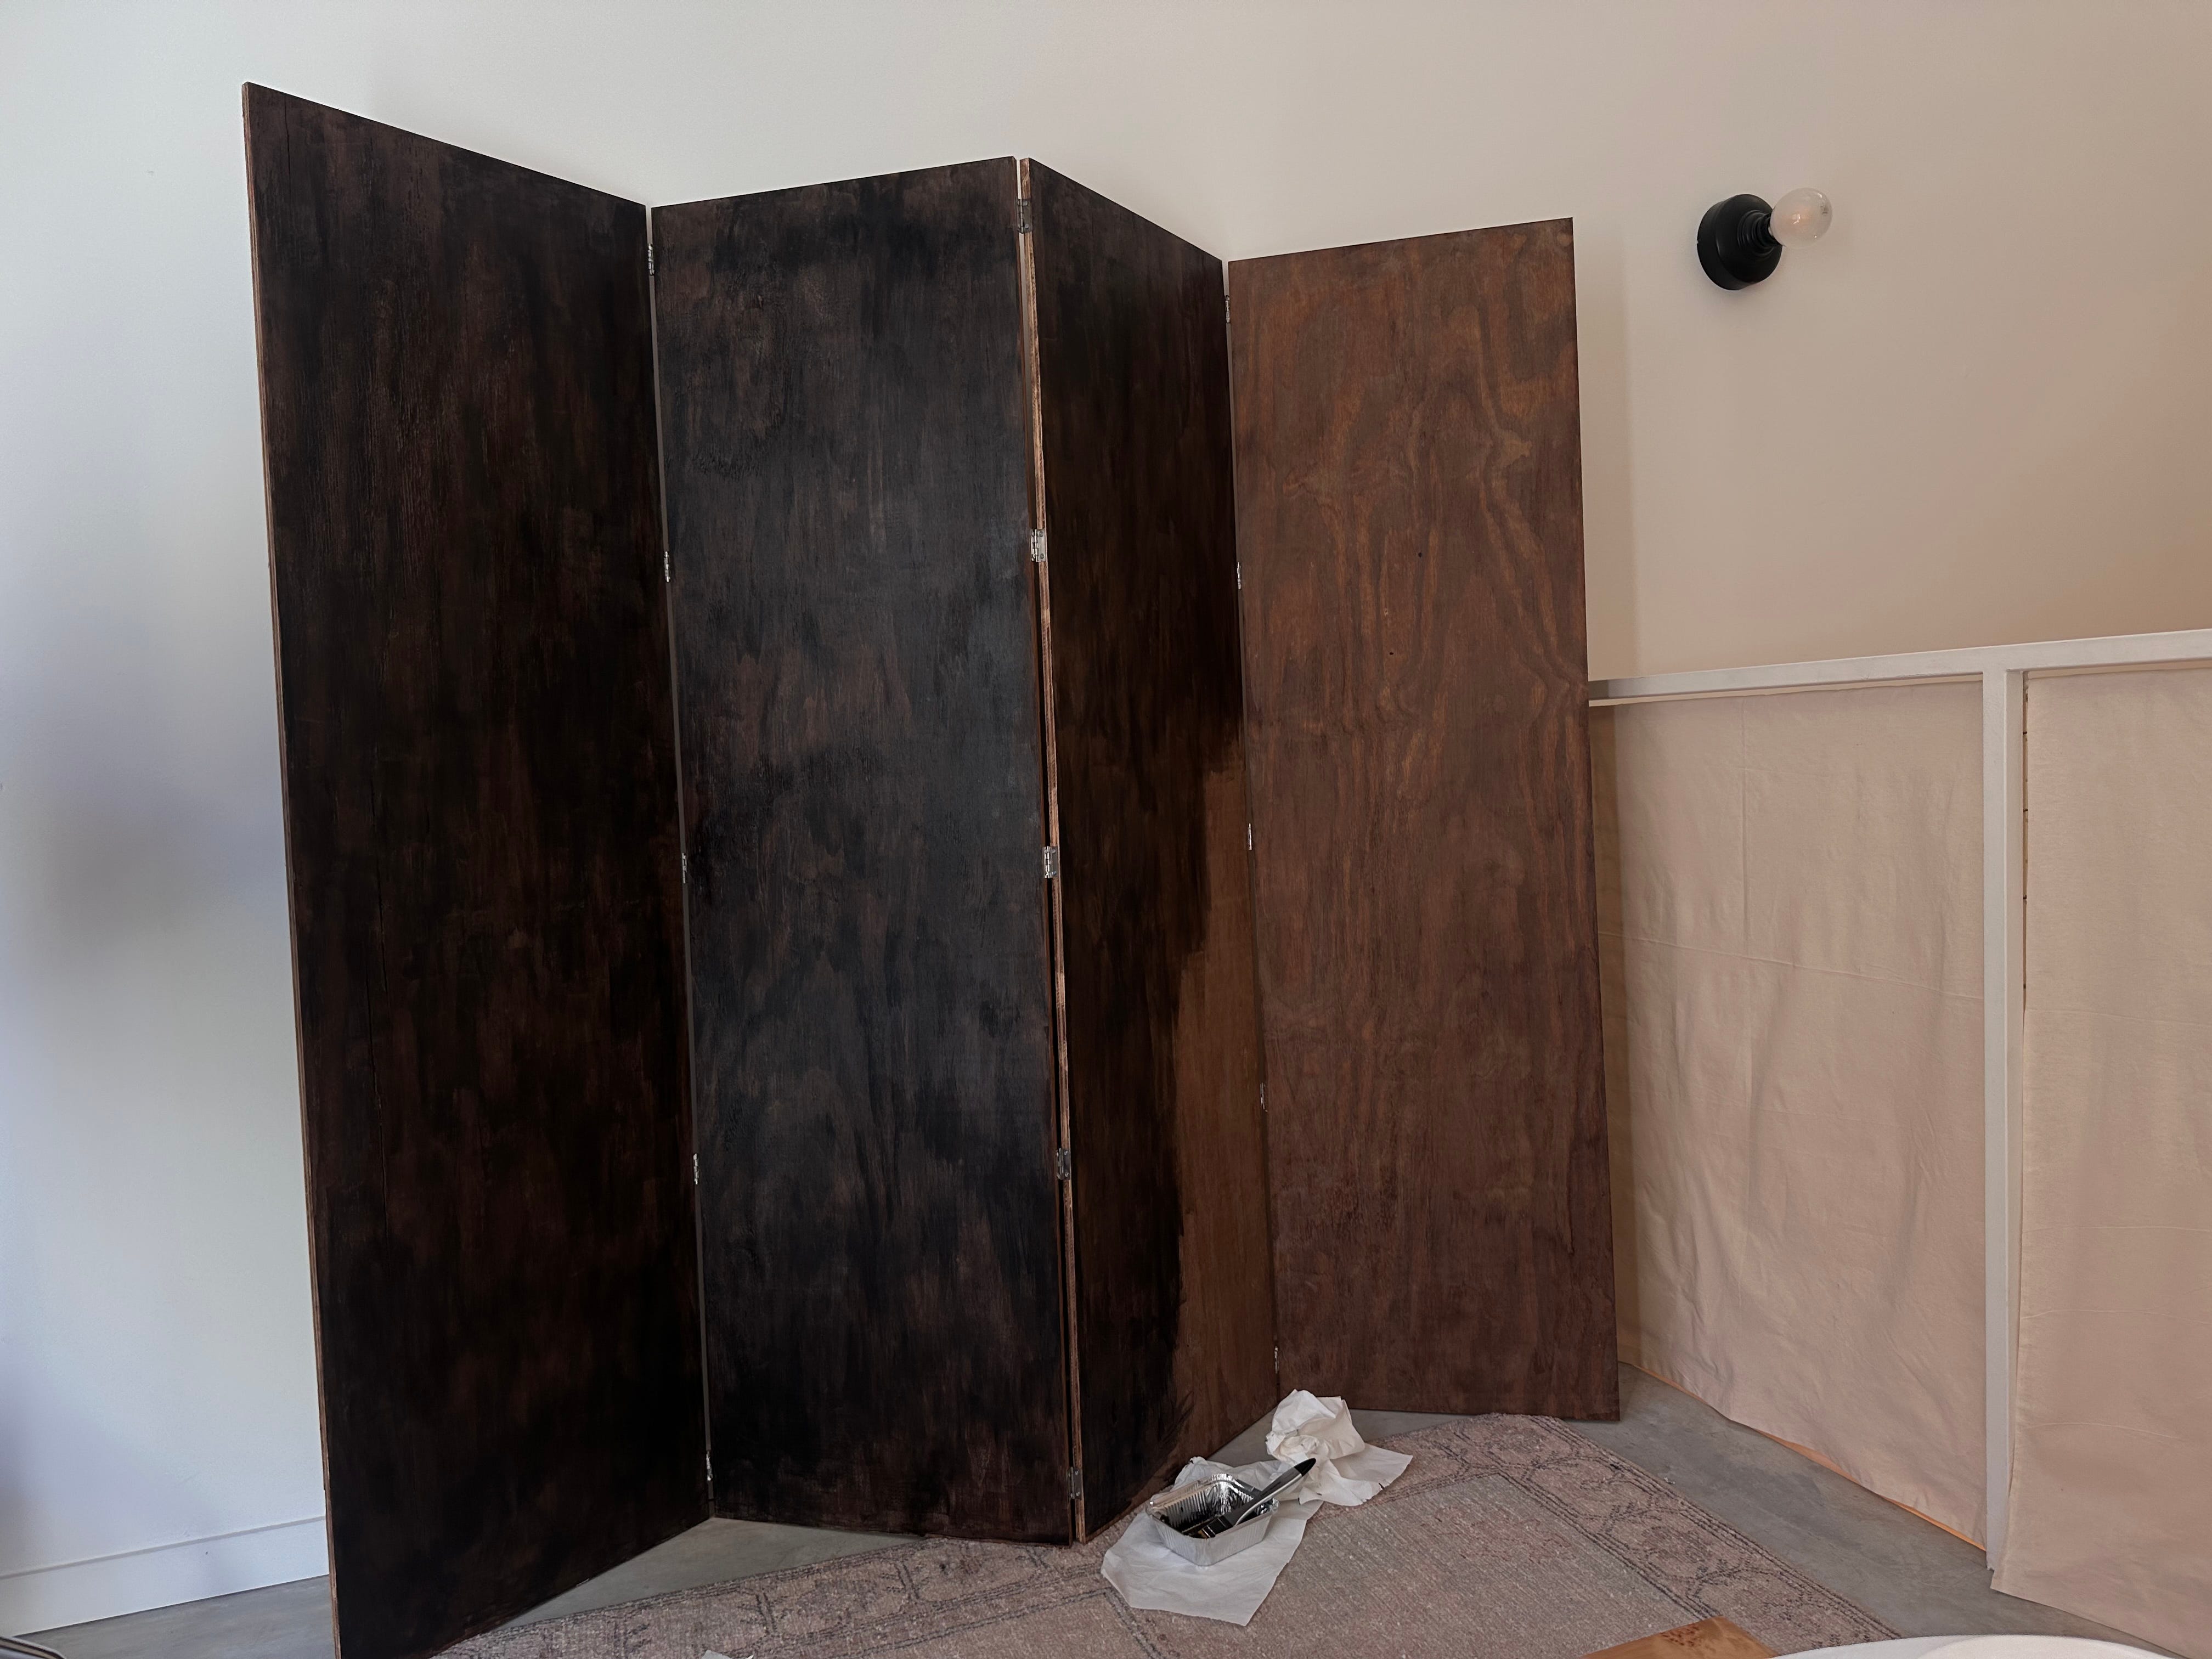
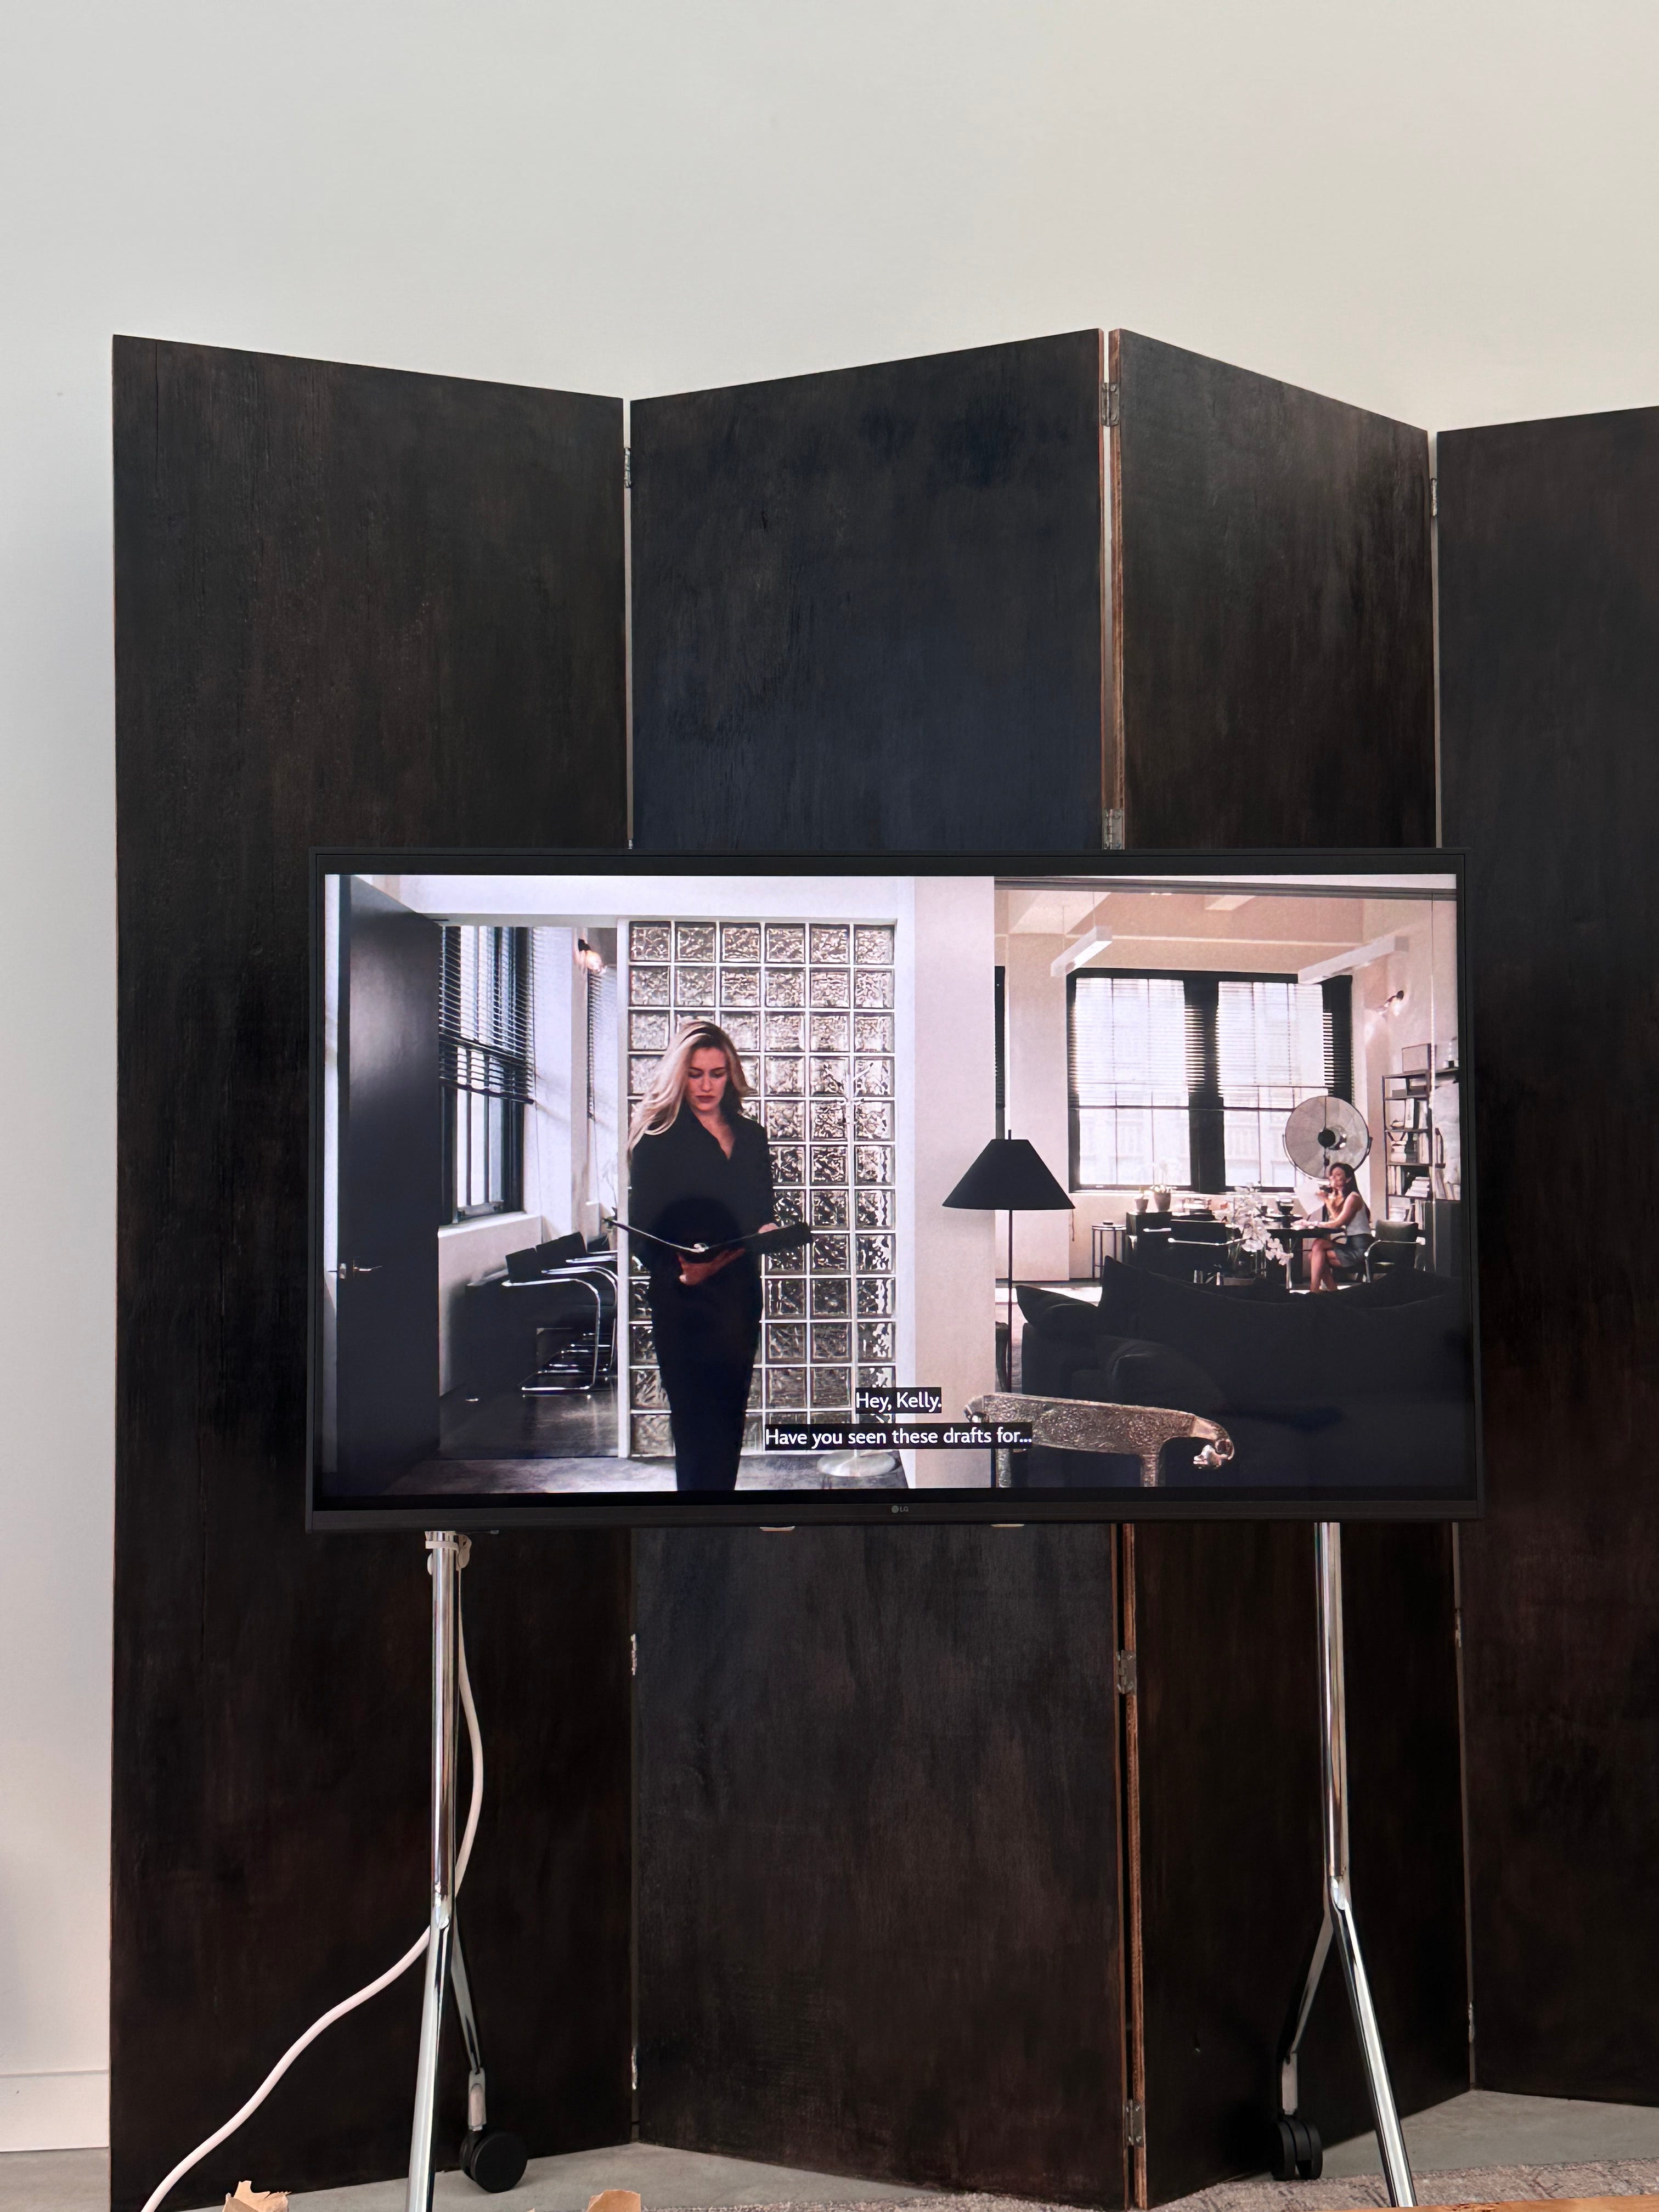
Once in my living room, I decided to go for one side in black and leave the other in wood, just to be able to flip it around now and then and have different backgrounds available. Since my living room ceiling is around 6 metres high, I needed to break up the white of the walls a bit and bring in some warmth.
ORIGINAL SKETCH
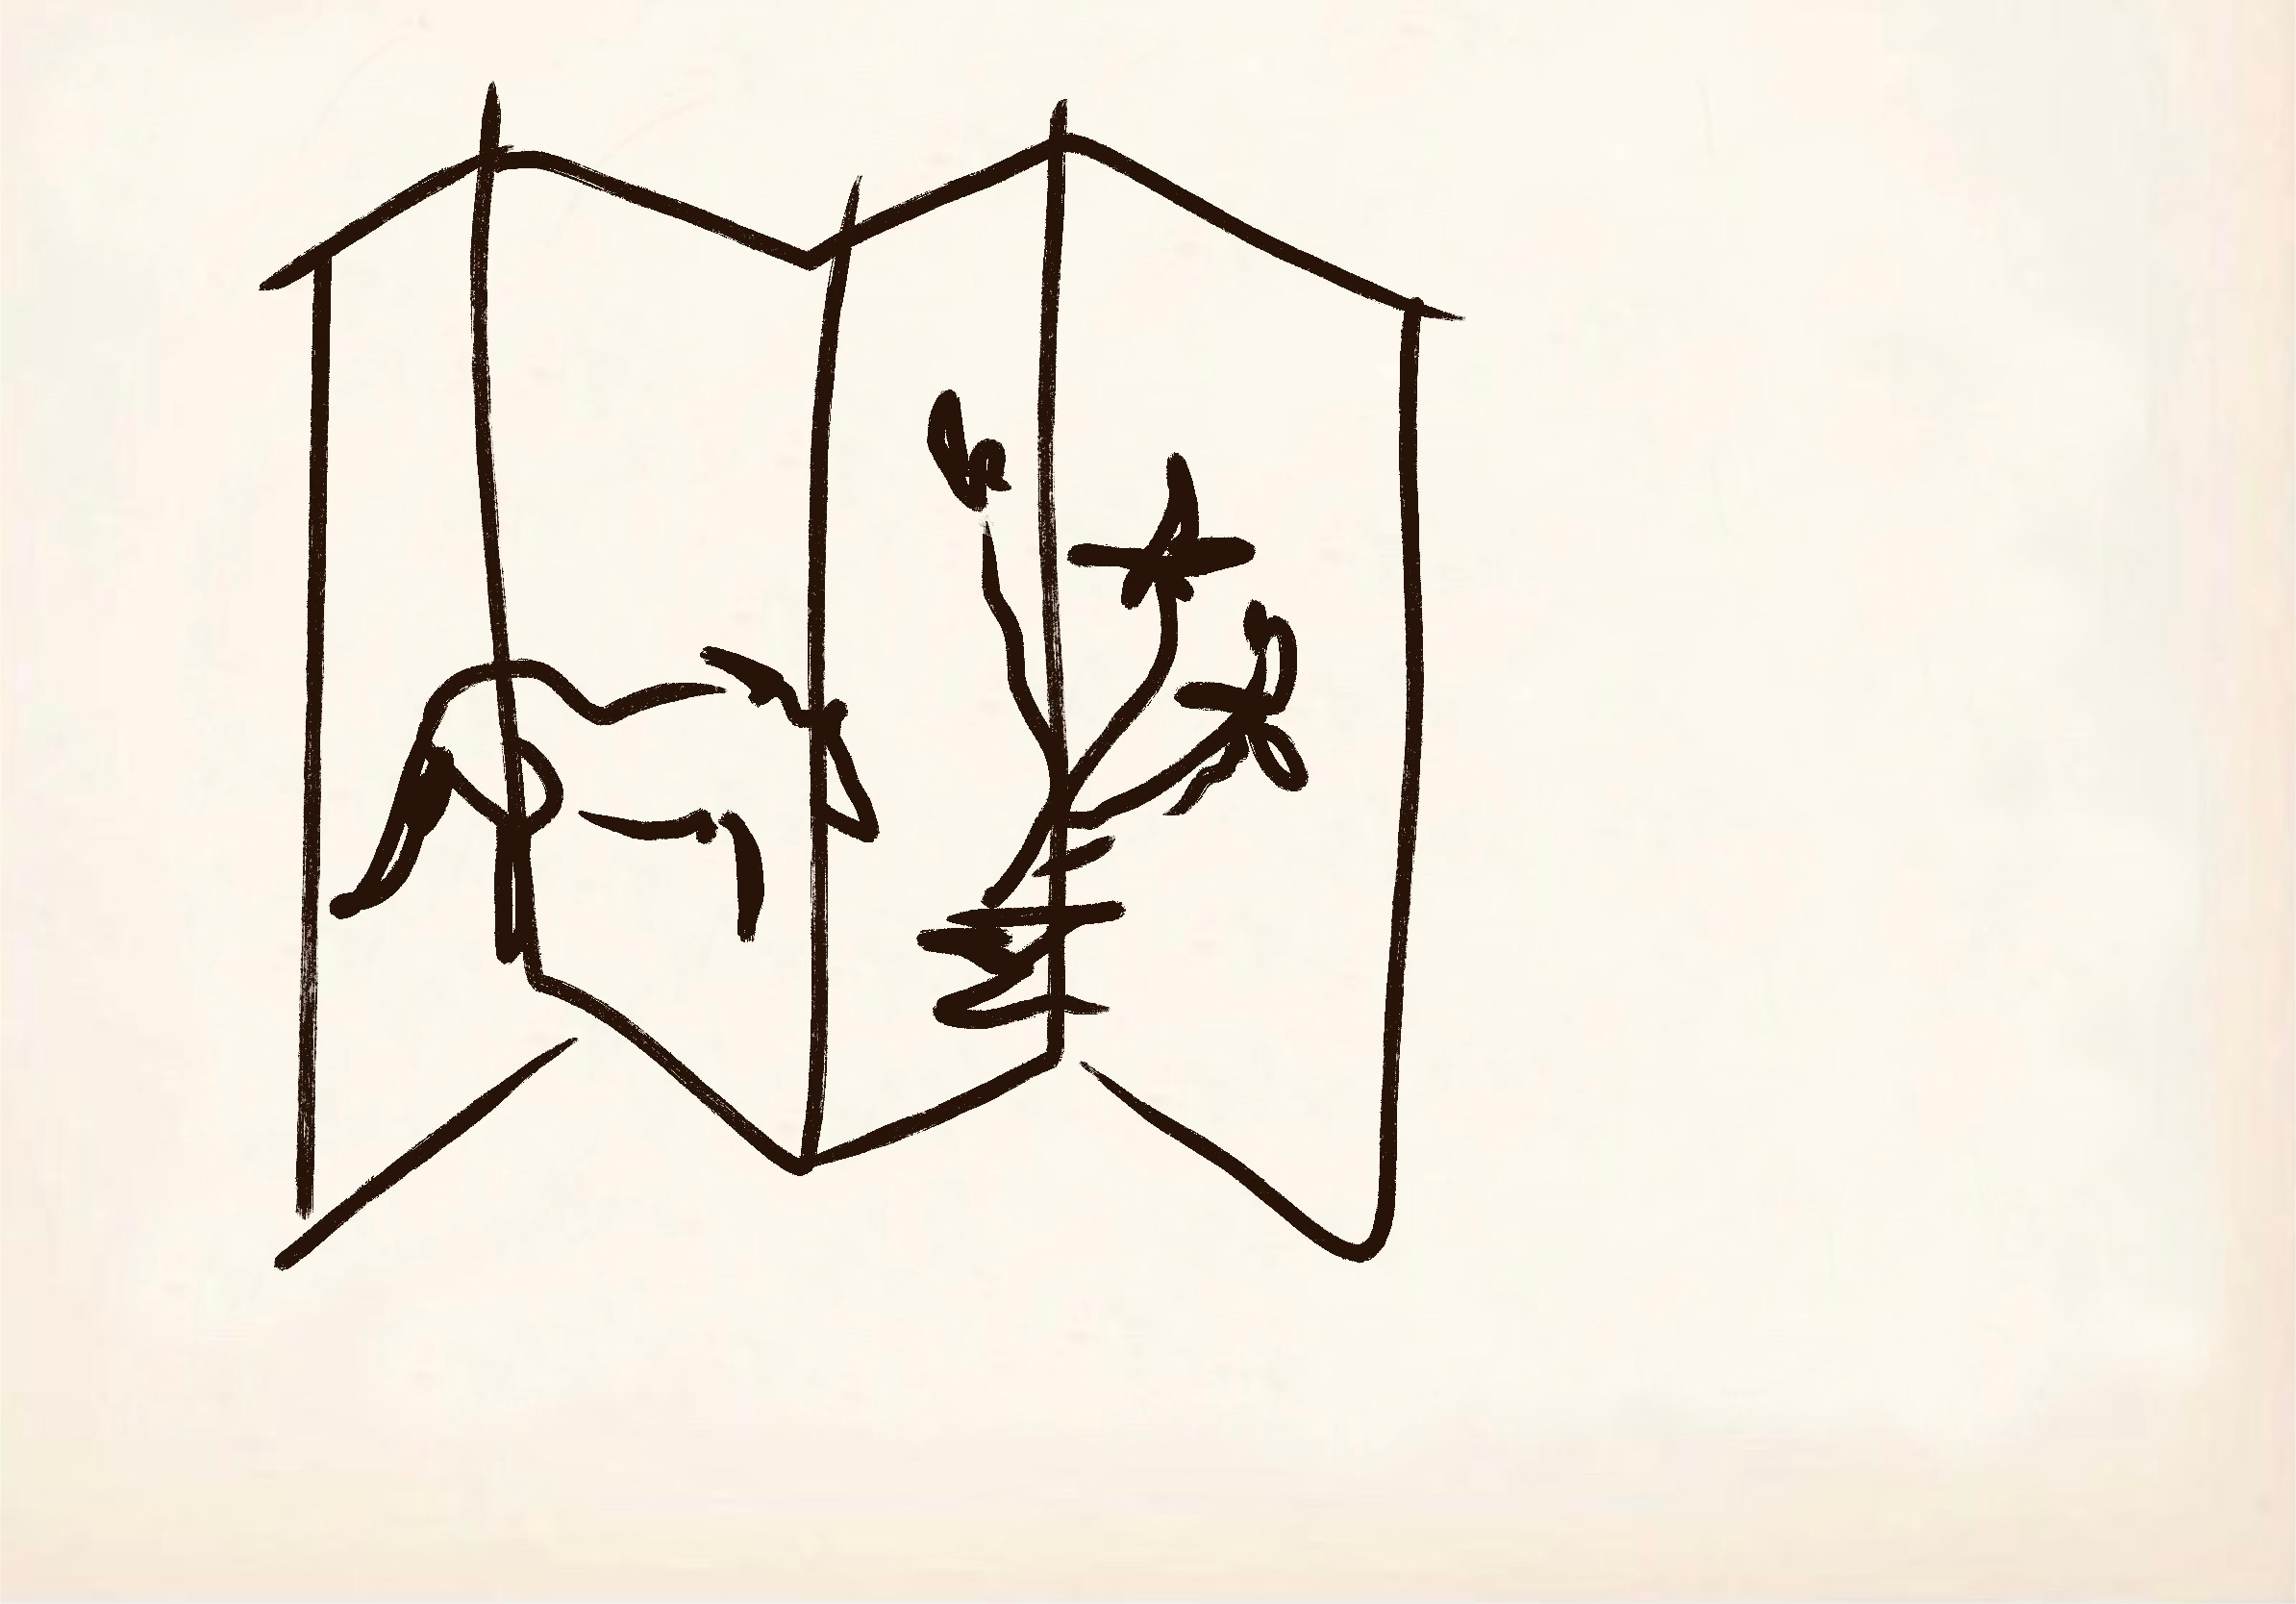
This was my original sketch - I planned to paint something on the darker face, but once it was placed with the rest of my furniture and the style of my home (very industrial), I loved how it fit in. I will scratch this craving off at some point in the future!